
Your basement slab is flat, dry, and doing nothing for you. A screened porch or patio floor is bare gray concrete that shows every drip and stain. Both are common projects for Madison, Wisconsin homes, and both have the same fix: tile set directly over the concrete, on the floor or the wall, indoors or out, no plywood subfloor required.
This guide walks through the process the way a tile professional actually runs it, from testing the slab for moisture to sealing the finished grout. By the end of this guide, you’ll know how to prep a concrete floor or wall, choose tile that survives a Wisconsin basement or porch, and avoid the mistakes that crack tile within a year.
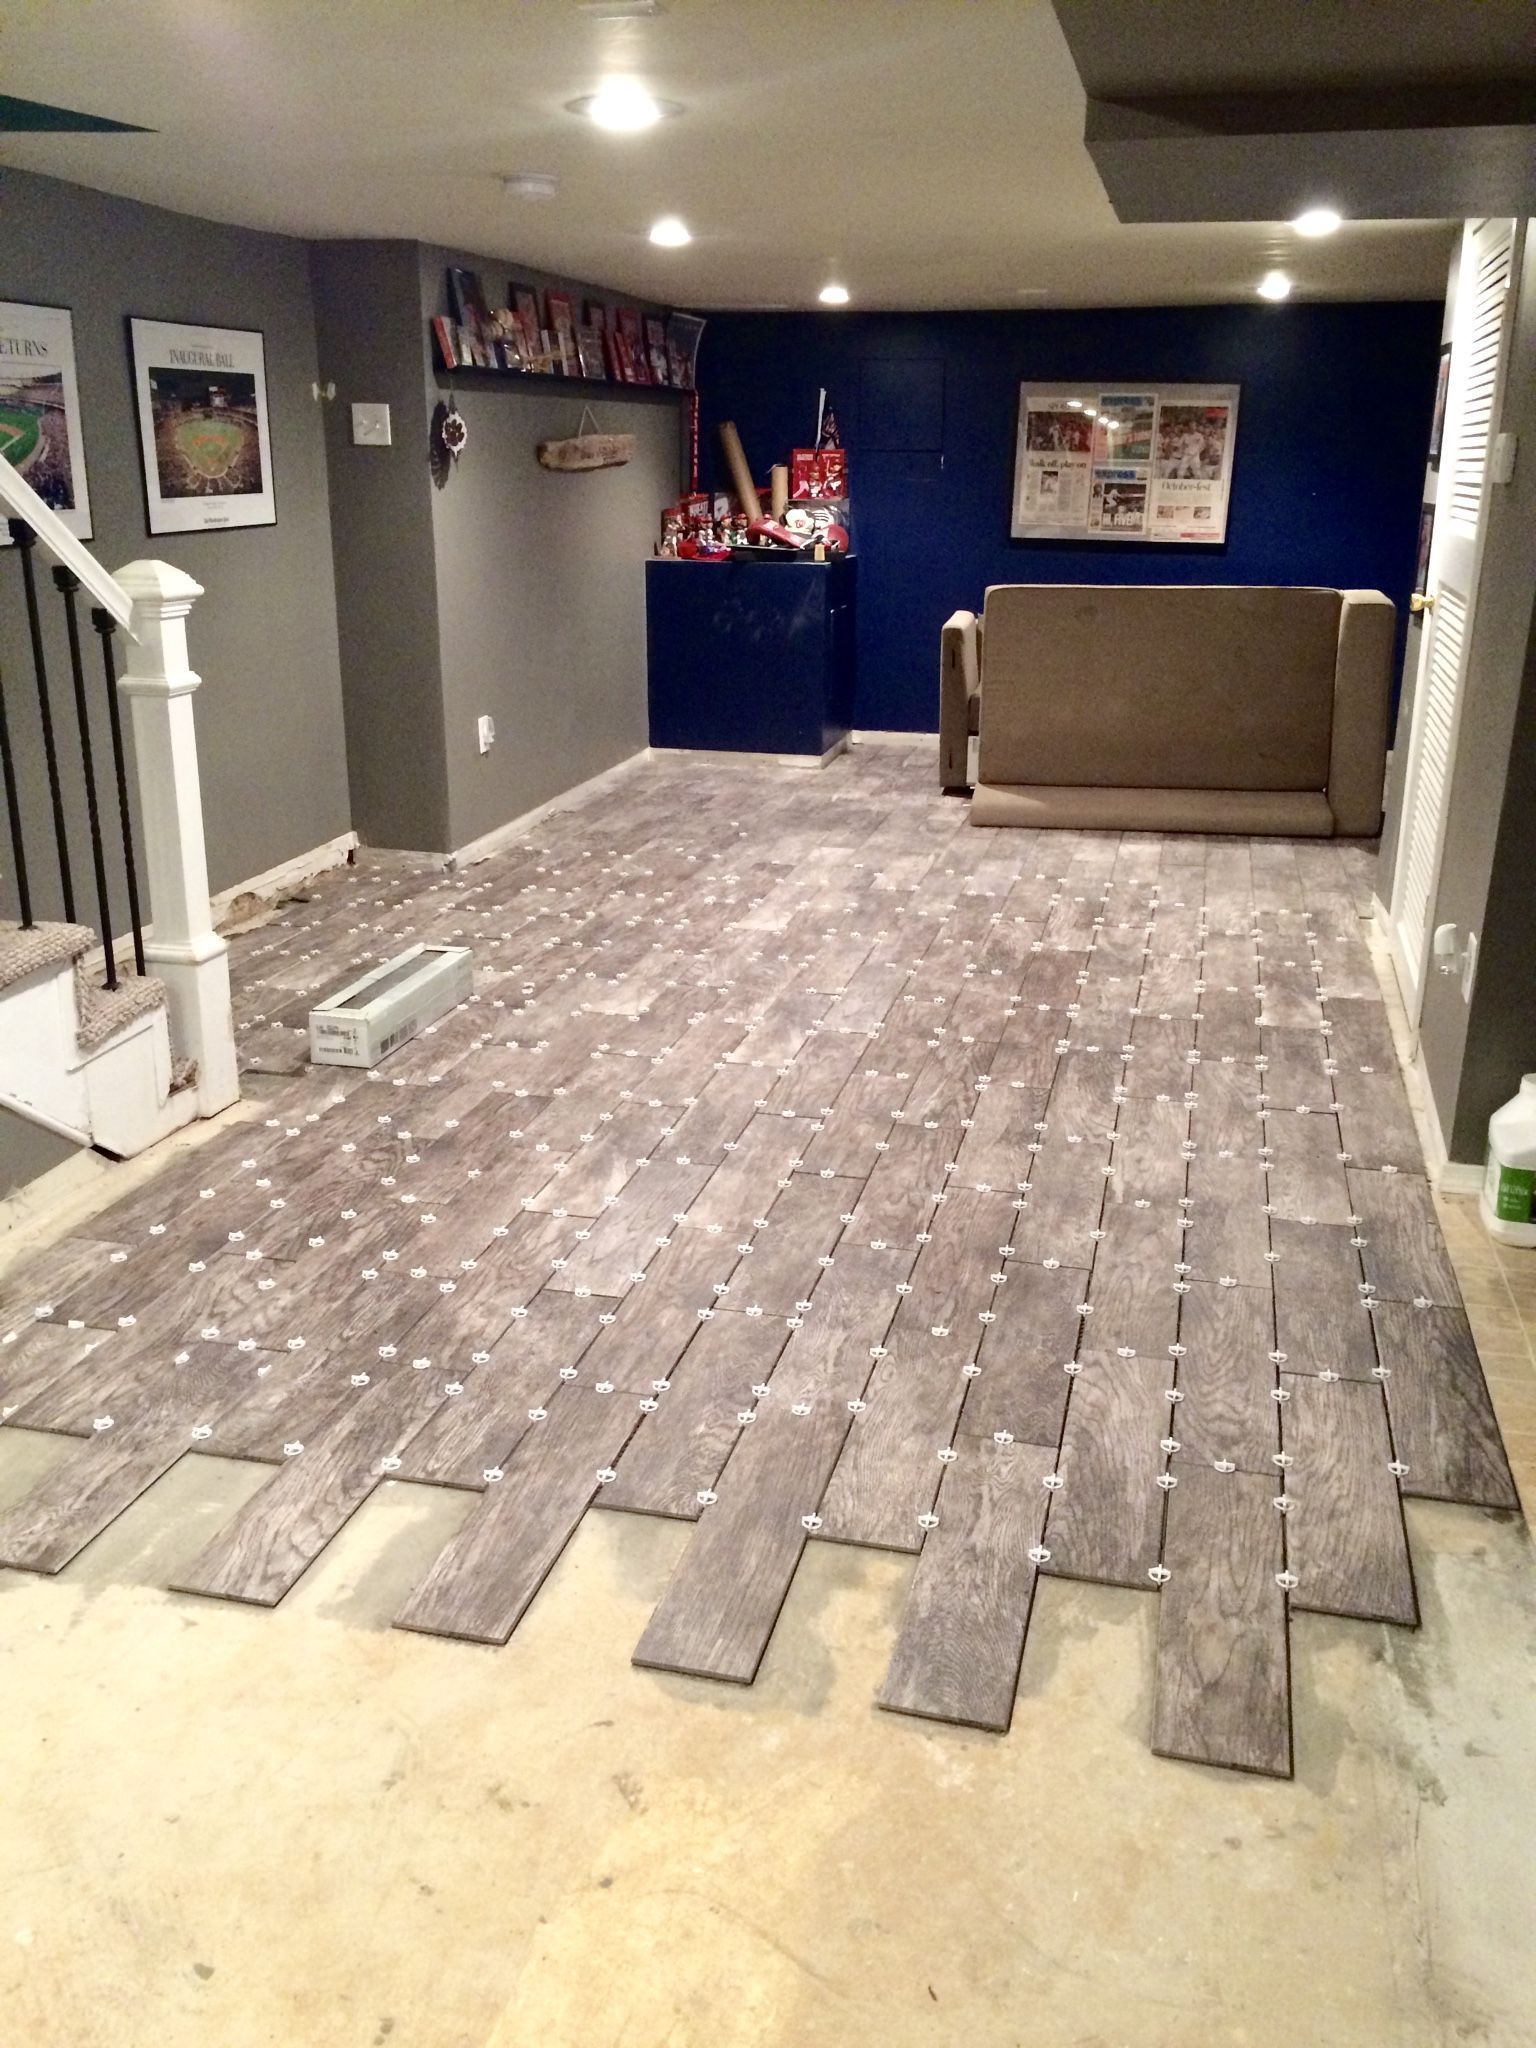
Wood-look tile planks are ideal for finishing a basement room. They can be installed directly on a prepped concrete floor.
Tile goes directly over most concrete floors and walls, indoors or out, no plywood subfloor needed. The real work is testing the slab for moisture (ASTM F2170 or F1869), patching and leveling it, and deciding whether a crack-isolation membrane is required. Porcelain, rated at 0.5% or less water absorption under ANSI A137.1, handles basements and freeze-thaw porches best. Budget roughly 13to13to65 per square foot installed, materials and labor combined.
What’s new in concrete tile installation
Two things have changed recently: crack-isolation membranes are now standard under large-format tile, and moisture testing has moved from surface-only to full-depth. TCNA’s installation guidelines call for a membrane rated to ANSI A118.12 whenever large-format tile goes down over concrete with a modified thin-set mortar (ANSI A118.4).
Big tiles telegraph slab movement faster than small ones do. Large-format porcelain planks and slabs, the wood-look, stone-look and concrete-look styles that dominate basement, porch and patio projects right now, fall squarely into that category.
Moisture testing has shifted too. Surface-level calcium chloride testing (ASTM F1869) is still common, but relative humidity testing with in-situ probes (ASTM F2170) reads moisture 40% deep into the slab. That depth reading is becoming the standard flooring manufacturers ask for before they’ll honor a warranty.
Step 1: Test the slab for moisture, and give new concrete time to cure
The moisture level inside the slab, not just on its surface, decides whether your tile job holds up. Trapped moisture is the top cause of tile failure over concrete, especially below grade in a basement.
Two ASTM-recognized test methods cover this. The calcium chloride test (ASTM F1869) sits a sealed dish on the slab for 72 hours and measures the moisture vapor emission rate from the surface. It’s fast, inexpensive, and still accepted by most flooring manufacturers.
Relative humidity testing (ASTM F2170) goes further. A probe sits in a hole drilled to 40% of the slab’s thickness and reads the humidity inside the concrete, not just the top layer.
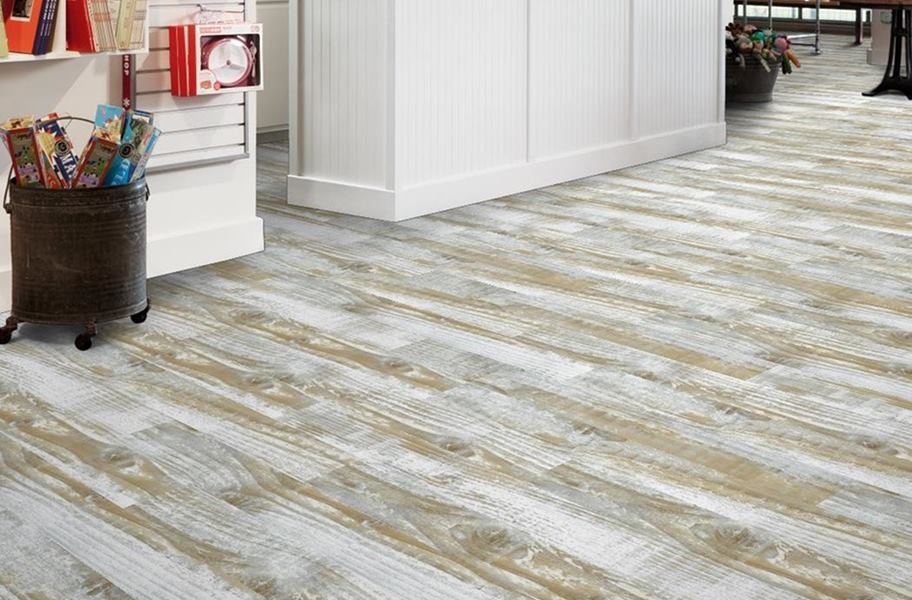
A tiled basement floor not only resists moisture, it earns you rave reviews.
That distinction matters more than it sounds. A slab can feel bone dry on the surface while holding real moisture several inches down, moisture that migrates upward once tile and grout seal the top.
If either test comes back high, don’t jump straight to a moisture barrier. Work out why the slab is wet first. Grading that slopes toward the foundation, a missing vapor barrier under the original pour, and a high water table each need a different fix than a topical sealer would provide.
Tiling a brand-new concrete slab? Wait for it to cure.
New concrete needs time before it can take tile, not just time to look dry. TCNA’s own guidance points to a minimum 28-day cure under normal conditions, the same benchmark the concrete industry uses to judge full strength. Some modified thin-set manufacturers rate their products for use after 14 days, but that’s the exception, not a reason to rush a standard pour.
Step 2: Clean, patch, level and, in most cases, prime the slab
A slab has to be clean, crack-free and flat before mortar goes anywhere near it. Skip this step and every problem in it shows up in the finished floor.
Start with a thorough sweep and vacuum, then scrub with a stiff brush and a degreaser, paying extra attention to any oily patches near a water heater or workbench. Rinse in small sections and let each one dry fully. A closed-up basement with no windows dries slowly, so run a fan to keep air moving.
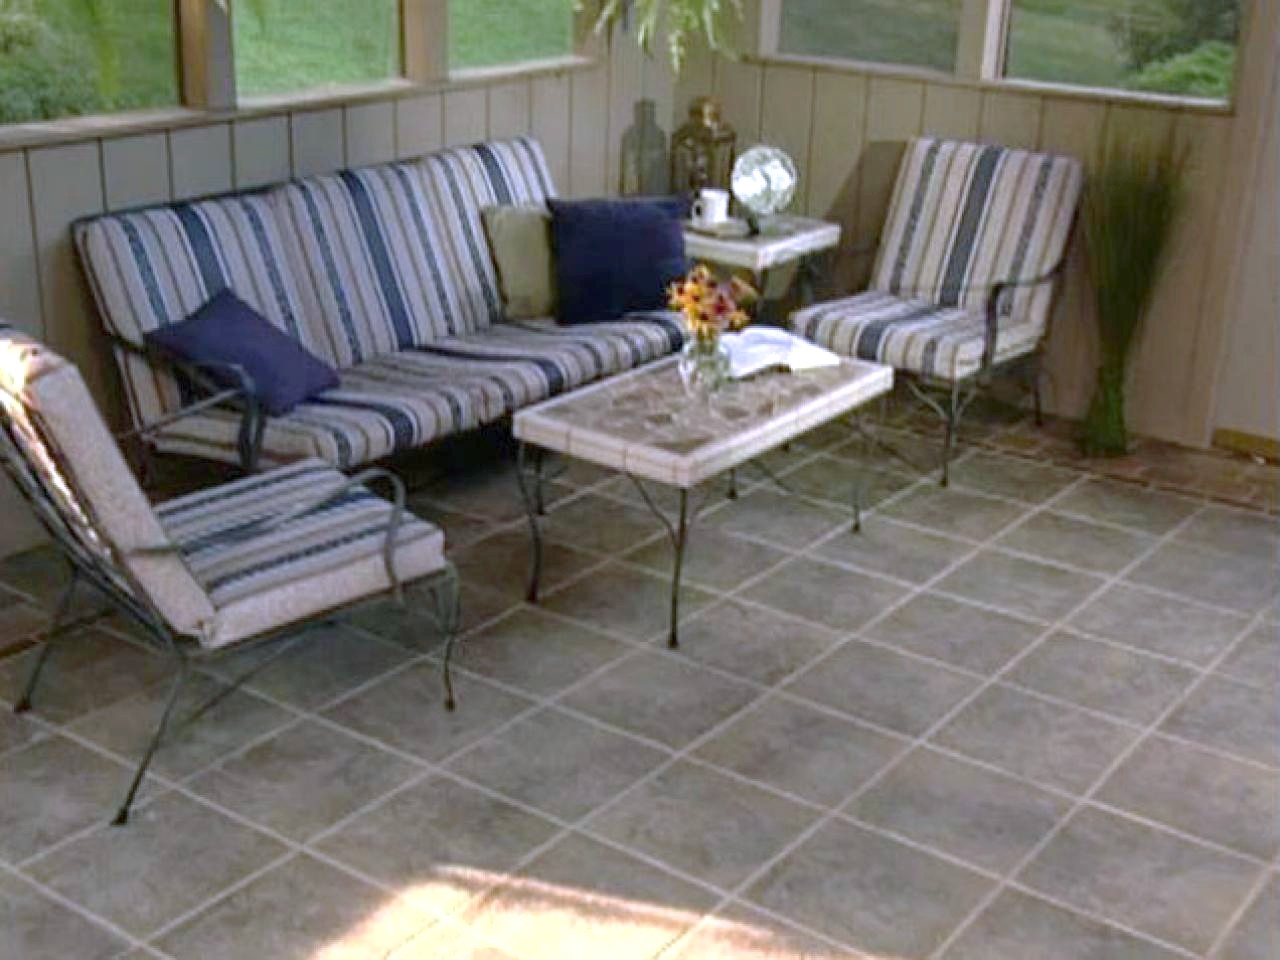
A ceramic tile floor enlivens a screened porch, creating a true outdoor room.
Patch hairline and settling cracks with a commercial patching compound, feathering it level with the surrounding slab. Wider or actively moving cracks are a different problem. Patching alone won’t stop them from telegraphing through the tile, which is exactly what a crack-isolation membrane is built to handle (more on that in Step 3).
Flatness matters as much as cleanliness. TCNA’s own installation guidelines allow a maximum of 1/4 inch of variation over 10 feet for standard tile, tightening to about 1/8 inch over 10 feet for large-format tile. Check with a straightedge and a level.
Low spots need a self-leveling compound. High spots need grinding down. Confirm the patched and leveled areas are fully cured before moving on. Rushing this step is the single most common reason DIY tile jobs crack within the first year.
One more step is worth the extra hour, especially over patched or self-leveled areas: a concrete primer. Primer bonds to the slab, seals it, and gives the mortar a more consistent surface to grip, rather than a patchwork of old concrete, patch compound, and leveler with different absorption rates. It’s not universally required on every job, but it’s cheap insurance on a slab with any patching at all.
Step 3: Do you need an underlayment or crack-isolation membrane over concrete?
Not always, but TCNA requires a crack-isolation membrane whenever large-format tile goes over concrete set with modified thin-set mortar. A crack-isolation (or anti-fracture) membrane, sheet or liquid-applied, breaks the bond between the slab and the tile so that small movements in the concrete don’t transfer straight up into the grout lines.
TCNA guidelines call for one whenever large-format tile goes over concrete set with a modified thin-set mortar (ANSI A118.4). Basements, porches and patios are prime candidates anyway, since all three sit on slabs that see more seasonal movement than a slab-on-grade living room floor. If your slab already has patched cracks from Step 2, that’s a second reason to add one.
A membrane isn’t a substitute for expansion joints. TCNA’s Handbook of Ceramic Tile Installation still calls for “soft joints”, flexible caulked gaps rather than rigid grout, at room perimeters, in large continuous floor areas, and anywhere tile meets a different material. Skipping these is one of the most common reasons basement tile cracks in a straight line along a wall a year or two after installation.
Step 4: Choose the right tile, floor or wall, indoors or out
Ceramic and porcelain both work over concrete, but they’re not interchangeable once moisture, traffic and location enter the picture.
Porcelain is the safer default for a basement, porch or patio, and ceramic is the lower-cost option for drier, lower-traffic spots. Under ANSI A137.1, porcelain must test at 0.5% water absorption or less, classifying it as impervious. That low absorption is exactly what makes it stable through a Wisconsin freeze-thaw cycle and resistant to the moisture that basements are prone to.
Ceramic tile, by contrast, is more porous. It still handles a basement floor well in most cases, and it typically costs less, but it’s a poorer match for an unheated porch or patio that freezes and thaws through a Wisconsin winter.
Here’s how the main options compare for a concrete application:
- Porcelain: 0.5% or less water absorption under ANSI A137.1. Suits basements, porches, patios and high-traffic areas. Safe for an unheated porch when paired with frost-rated grout. Comes in wood-look, stone-look and concrete-look finishes if you want a specific aesthetic without that material’s maintenance demands.
- Ceramic: Typically 3-7% water absorption, varies by product. Suits basements and low-traffic interior rooms. Not recommended for an unheated porch.
- Natural stone: Absorption varies widely by material. Workable in a basement with proper sealing. Outdoor use is case by case and always needs sealing.
If the look you actually want is polished concrete or a raw industrial finish rather than the moisture performance of real tile, ask about concrete-look porcelain in our showroom. It gets you the aesthetic with the water resistance and low maintenance of porcelain, which is a common enough request that it’s worth its own conversation rather than a footnote here.
Don’t skip slip resistance, especially outdoors or near water
A tile can be the right material and still be the wrong choice if it’s slick when wet. Slip resistance depends mostly on surface finish rather than tile type. Matte and textured finishes grip far better underfoot than polished or high-gloss finishes. That’s exactly why polished porcelain looks stunning indoors and turns risky the moment it’s wet on a porch or pool deck.
For a basement that could see spills, or any porch or patio exposed to rain and snow, ask specifically for a slip-resistant or textured finish rather than assuming any porcelain will do.
Installing tile on an indoor concrete wall
Concrete block or poured foundation walls take tile the same way floors do: clean, dry, flat, and moisture-tested. The difference is weight. A porcelain tile spec’d for a basement floor can be genuinely heavy per square foot, and that weight matters far more on a vertical surface held up by mortar bond alone.
For an indoor basement or foundation wall, thinner large-format porcelain panels or standard-weight ceramic wall tile are usually the more practical call than a heavy floor-rated porcelain on the wall.
Installing tile on an outdoor concrete wall
An exterior concrete wall, a foundation wall on a porch or an outdoor kitchen surround, adds the same freeze-thaw exposure a porch floor deals with, plus more direct weathering from wind-driven rain. Stick with porcelain or a genuinely frost-rated material, use an exterior-rated adhesive, and don’t skip the movement joints at corners and transitions.
Vertical surfaces shed water differently than floors, so confirm the tile and grout you’re using are both rated for exterior use, not just for a covered porch ceiling or floor.
Step 5: Plan your layout and pattern before you mix any mortar
Dry-lay the job before you mix a drop of mortar. A rushed layout is how you end up with a sliver of cut tile at the one wall everyone sees when they walk in.
Snap perpendicular chalk lines to find the room’s true center, then dry-lay a full row in each direction from that point, spacers included. Walk the room and look at where the cuts fall. Shift the starting point until the cuts land in corners and behind furniture rather than dead center under a doorway.
Pattern is a design decision as much as a technical one. A straight grid reads clean and modern and suits large-format porcelain well. A running bond, offset by a third or half a tile, hides slight size variation in handmade or textured tile and softens a long, narrow room.
Diagonal layouts can make a small porch or patio feel larger. If tile is continuing from an indoor room onto a porch or patio, keeping the same tile family and a consistent pattern across the transition reads as one continuous space rather than two disconnected ones.
Account for the grout joint width in your dry layout, not just the tile size. A joint that looks fine on paper at 3/16 inch adds up over a 15-foot run and can throw your layout off by a full tile.
Step 6: Mix and apply the right mortar for concrete
Thin-set mortar, not mastic or construction adhesive, is the standard for tile over concrete. For most basement and porch jobs, that means a modified thin-set meeting ANSI A118.4, or an ANSI A118.15 mortar for large-format and heavy porcelain.
Outdoors, that mortar also needs to be rated for exterior exposure and moisture, not just labeled “modified.” A waterproof, exterior-rated thin-set is what actually stands up to a Wisconsin porch or patio through a full freeze-thaw winter, where an indoor-only mortar will fail years sooner.
Mix only what you can set within the mortar’s open time, typically upwards of 20 minutes under ANSI A118.4 testing conditions, less in a warm or dry room. Comb it with a notched trowel sized to the tile, back-buttering large-format pieces so the back of the tile gets full coverage, not just the ridges left in the mortar bed.
Check coverage on the first few tiles by pulling one back up. Professional installations target close to full coverage in dry interior rooms. In a basement, porch or any wet-prone area, they target a genuinely full bed instead, since voids under the tile are where cracks and hollow-sounding tiles start.
Step 7: Set the tile, grout the joints and seal everything
Grout choice comes down to joint width, and TCNA’s own guidance is exact: joints under 1/8 inch take unsanded grout, joints of 1/8 inch and wider take sanded grout. Get that one decision right and the rest of this step is straightforward finishing work.
Set each tile with a slight twisting motion to seat it into the mortar, then check it against a level and its neighbors before the mortar skins over. Pull spacers once the mortar has set enough to hold the tile in place, usually within 24 hours, and check the manufacturer’s instructions before walking on the new floor.
Let grout cure fully, commonly 48 to 72 hours depending on the product, before sealing it with a penetrating sealer. Sealing keeps the porous cement-based grout from soaking up spills and, in a basement, from wicking up ground moisture over time. Outdoors, sealing matters even more, since unsealed grout is the first thing to erode under repeated freeze-thaw cycling.
Tiling outdoors in a Wisconsin climate: what’s different on a porch or patio
A porch or patio slab moves more than an indoor basement floor, because it’s exposed to direct sun, rain, and a genuine freeze-thaw cycle every winter. Wisconsin’s building code requires footings to sit at least 48 inches below grade or below the frost penetration level, whichever is deeper (Wisconsin Administrative Code SPS 321.16), precisely because frozen, expanding soil moves anything shallower.
That same freeze-thaw stress works on tile and grout once they’re down. Stick with porcelain rated for exterior and freeze-thaw exposure, use a frost-rated, sanded grout, choose a slip-resistant matte or textured finish underfoot, and don’t shortcut the expansion joints around the perimeter. A cracked interior tile is an inconvenience. A cracked exterior tile that lets water in and then freezes is a repeat problem every winter until the joint is fixed properly.
How much does it cost to tile a concrete floor?
Industry-wide, tiling a concrete floor runs roughly 13to13to65 per square foot installed, combining tile, setting materials and labor. Costs vary by tile type, room prep, and whether you hire a professional or do it yourself. These are general industry ranges, not a Molony Tile quote:
- Tile material: 0.50to0.50to45 per sq ft. Basic ceramic sits at the low end, natural stone and premium porcelain at the high end.
- Setting materials (mortar, grout, membrane): roughly 1to1to4 per sq ft, more if a crack-isolation membrane is required.
- Professional installation labor: roughly 6to6to20+ per sq ft, depending on layout complexity, tile size and subfloor condition.
- Total installed (materials plus labor): roughly 13to13to65 per sq ft. The range reflects tile choice far more than labor.
A straightforward basement floor in a standard ceramic tile sits toward the lower end of that range. A large-format porcelain job with a crack-isolation membrane, or an intricate pattern with more cuts, moves toward the higher end.
Common mistakes that crack tile over concrete
Most concrete tile failures trace back to one of six decisions, not bad luck.
Skipping the moisture test is the most expensive one to get wrong, since it isn’t visible until the tile is already down and starting to lift. Tiling a new slab before it’s cured runs a close second, especially when the temptation to finish a basement fast overrides the 28-day guideline.
Ignoring active cracks instead of isolating them is another repeat offender, since a patched but unisolated crack almost always telegraphs back through within a year or two. Using mastic instead of thin-set mortar is a common shortcut on porches and basements alike. Mastic doesn’t have the bond strength or moisture resistance thin-set does, and it fails faster in exactly the damp conditions basements and porches create.
Leaving out expansion joints at the perimeter and at large floor breaks causes the same problem, especially outdoors where the temperature swing is bigger. And rushing the layout, so cut tiles land in the middle of the room instead of the edges, is the mistake homeowners notice every single day afterward, even though it doesn’t affect durability at all.
FAQ
Can I install tile directly on a concrete basement floor?
Yes, in most cases. Concrete is actually one of the most stable substrates for tile, as long as it’s clean, structurally sound, and tests dry using ASTM F1869 or F2170. No plywood subfloor is needed between concrete and tile, indoors or out.
Do I need a moisture barrier under basement tiles?
Not always. Test the slab first using ASTM F1869 (calcium chloride) or ASTM F2170 (relative humidity probes). If the results come back within the tile and mortar manufacturer’s limits, a full moisture barrier usually isn’t required, though a crack-isolation membrane may still be worth adding.
Are outdoor tiles different from indoor tiles on concrete?
Yes. Outdoor tile needs low water absorption (porcelain at 0.5% or less under ANSI A137.1), a frost-rated exterior grout, and slip-resistant finishes to handle rain, freeze-thaw cycling and bare feet. Many indoor-rated tiles simply aren’t tested or warrantied for that kind of exposure.
Can I install heated floors with tile over concrete?
Radiant floor heating works well under indoor tile over a concrete slab, and it’s a popular basement upgrade for exactly that cold-floor complaint. It’s not viable under exterior tile on an open porch or patio, where the heat source has nothing to hold it in. See our underfloor heating guide for how the systems work.
Do tiled concrete floors need to be slip-resistant?
Not every tile needs it, but any floor near water, basement, porch, patio or entryway benefits from a matte or textured finish rather than a polished one. Slip resistance comes from the finish, not the material, so ask for it specifically rather than assuming any porcelain or ceramic is safe underfoot when wet.
Can I tile over old adhesive, or do I need to remove the old tile first?
Old tile should come out, and old mastic, paint or sealant needs to be fully removed, usually by grinding or stripping, so new thin-set mortar can bond directly to bare concrete. Tiling over old adhesive or old tile is a common cause of the new tile lifting later.
What to get right before you lay the first tile
Concrete is a good substrate for tile, on a floor or a wall, indoors or out, but it isn’t a forgiving one. The floor that lasts twenty years and the floor that cracks within eighteen months usually went through the exact same steps. Both got tested for moisture, patched, isolated where needed, laid out with a plan, set in the right mortar, and finished with the right grout. The floor that fails just skipped one of them.
If you’re doing this yourself, start with the moisture test before you buy a single tile. If the slab tests wet, or the room has any history of standing water, that’s the point to bring in a professional installer rather than push ahead. For everything else, working through each step in order, and not skipping the ones that feel optional, is what separates a basement, porch or patio floor that holds up from one that doesn’t.